

Surfboard Care Checklist: Keep Your Board Performing
- Fernando Antunes

- Jun 4
- 8 min read
TL;DR:
Regular rinsing, drying, and inspecting your surfboard after each session are essential to prevent salt damage and detect minor issues early. Deep cleaning every one to three months with proper tools maintains grip and appearance, while timely repairs prevent waterlogging and structural deterioration. Proper storage in shaded, well-ventilated spaces and keeping a basic repair kit extend your surfboard’s lifespan and performance.
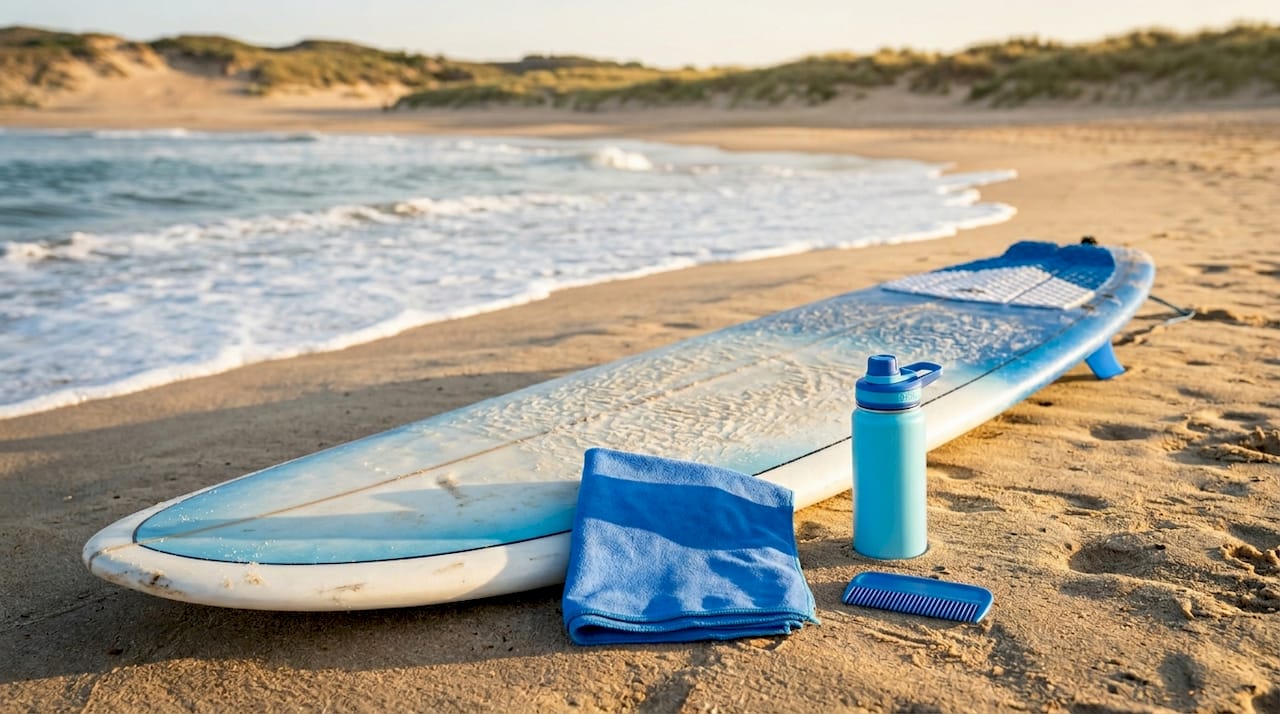
A surfboard care checklist is a structured set of maintenance routines that protects your board from salt corrosion, heat damage, and physical wear after every session. Proper board maintenance, the industry term for these practices, determines whether your surfboard lasts a few seasons or a decade. The checklist covers five core areas: rinsing, drying, wax management, damage inspection, and storage. Tools like plastic wax combs, fin keys, and biodegradable cleaners make each step faster and more effective. Get these habits right and you save money on repairs, maintain better traction, and ride a board that performs the way it should.
1. Your daily surfboard care checklist after every session
The single most important step in any surfboard care checklist is rinsing your board with lukewarm fresh water immediately after you leave the water. Salt begins corroding surfboard materials within minutes of a session ending. That means a quick rinse is not optional. It is the foundation of every other maintenance habit you build.
After rinsing, dry the board completely before you put it away. Moisture trapped inside a bag or under a cover creates the conditions for delamination and the white cloudiness that appears on the deck. Pay attention to the fin boxes and leash plug, where water tends to pool.
Run a quick visual inspection every time. Look for new dings, pressure dents along the rails, or any spot where the fiberglass has cracked. Catching damage early costs you five minutes. Missing it costs you a professional repair bill.
Rinse with lukewarm fresh water, not cold tap water, which can stress certain resins
Dry the deck, rails, and tail before bagging
Check fin boxes for sand or salt buildup
Inspect the leash plug for cracks or looseness
Avoid leaving the board on hot pavement or in a parked car
Pro Tip: Keep a dedicated microfiber towel in your board bag so drying after a session becomes automatic, not an afterthought.
2. How to remove wax buildup and deep clean your surfboard
Deep cleaning every 1 to 3 months keeps your deck grippy and your board looking sharp. The exact frequency depends on how often you surf. If you are in the water four or more times a week, clean closer to the one-month mark.
Follow these steps for a thorough wax removal and cleaning:
Leave the board in indirect sunlight for 10 to 15 minutes to soften the wax. Direct midday sun overheats the surface, so find a shaded spot with ambient warmth.
Use a plastic wax comb to scrape off the bulk of the wax in long, even strokes from nose to tail.
Wipe residue with a clean cloth. A small amount of coconut oil or a citrus-based wax remover lifts the last film without damaging the fiberglass.
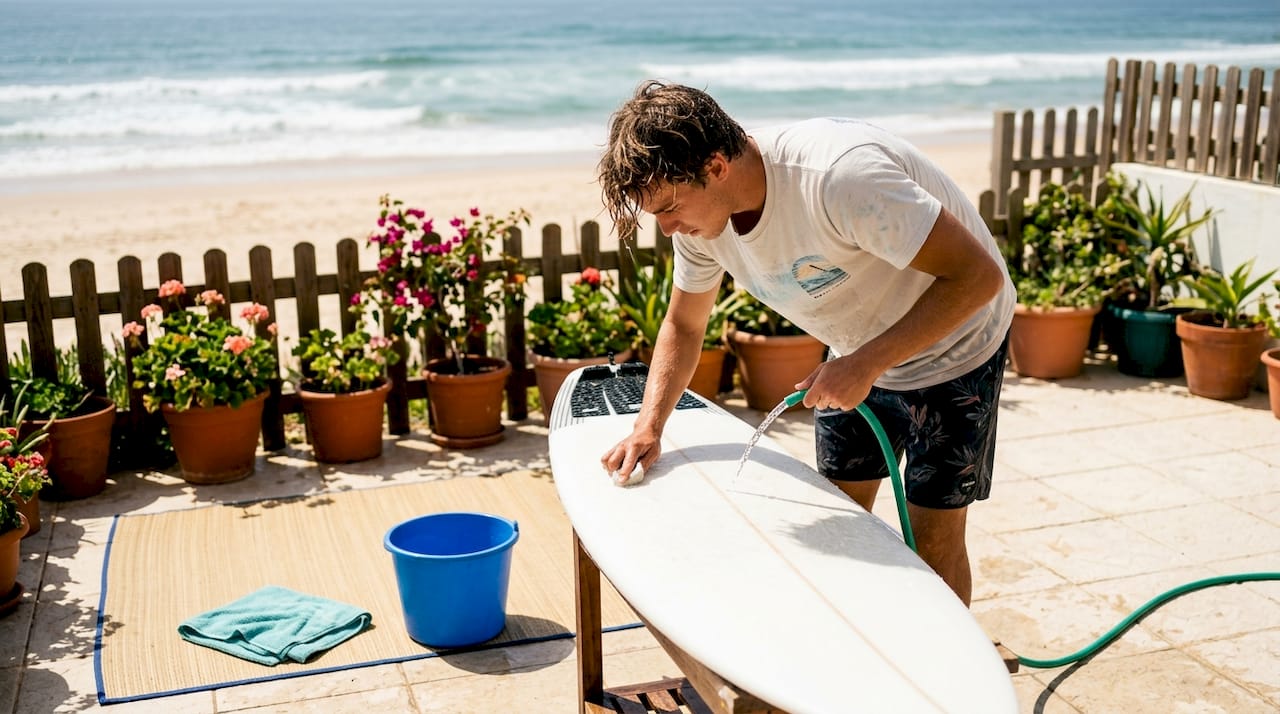
Wash the entire board with mild biodegradable soap and warm water. Pay attention to the rails and the area around the fin boxes.
Rinse thoroughly and air dry in a shaded, ventilated space before applying fresh wax.
Never use metal scrapers or sharp tools on the deck. Fiberglass scratches easily, and those scratches become entry points for water. Brands like Pickle Wax Remover and Sticky Bumps Wax Comb are widely available and purpose-built for this task.
Pro Tip: Apply new wax in a crosshatch pattern rather than straight lines. The diamond texture grips your feet better than parallel stripes.
3. How to inspect and repair minor surfboard damage
Small dings and cracks need immediate attention because exposed foam absorbs water fast. A waterlogged board becomes heavier, loses buoyancy, and eventually delaminates from the inside out. The repair does not need to be perfect. It needs to seal the foam.
Here is what to look for after every session:
Dings and cracks: Any break in the fiberglass skin, no matter how small, is a water entry point
Pressure dents: Soft spots on the deck where your feet land repeatedly, common on softer foam boards
Rail damage: Chips along the edges from contact with rocks, reefs, or other boards
Fin box cracks: Stress fractures around the fin inserts, especially after hard wipeouts
Leash plug movement: Any wobble in the plug means the surrounding glass needs reinforcement
Damage type | DIY fix | When to see a pro |
Small ding, foam not exposed | Solarez UV resin, 5 minutes | Not needed |
Ding with exposed foam | Resin and fiberglass patch | If larger than a coin |
Rail chip | Sanding and resin fill | If structural integrity is affected |
Fin box crack | Temporary seal, then assess | Always for fin box repairs |
Delamination bubble | Tape as temporary seal | Always, immediately |
Use the correct resin type for your board construction. Epoxy resin goes on EPS and epoxy boards. Polyester resin goes on traditional PU boards. Using the wrong type creates a weak bond that fails under pressure.
4. Best practices for surfboard storage
Store your board in a cool, shaded, well-ventilated space away from direct sunlight. Heat is the primary cause of delamination and the yellowing that turns white boards cream-colored over time. A garage with no windows, a shaded porch, or a dedicated board rack inside your home all work well.
These storage habits protect your board between sessions:
Never leave the board in a hot car, even for an hour. Temperatures inside a parked vehicle can exceed 140°F, which softens resin and separates layers.
Avoid storing wet boards in bags, particularly in cold or humid climates. The moisture has nowhere to go and causes white cloudiness or worse.
Use padded wall racks or foam-padded floor stands rather than leaning the board against a wall. Leaning creates pressure points that cause permanent dents over months.
Shake sand out of your board bag before putting the board in. Sand acts like fine-grit sandpaper and scratches the surface with every movement.
For long-term storage, remove the fins and store them separately to relieve stress on the fin boxes.
Pro Tip: If you surf a rental or travel with your board, check out surfboard rental tips before your trip. Knowing how rental boards are maintained helps you spot damage before it becomes your problem.
5. Which tools belong in your home maintenance kit
A beginner’s DIY maintenance kit includes a plastic squeegee, sandpaper in 80, 120, and 220 grit, masking tape, fin keys, a utility knife, and silica gel packs for humidity control. That list covers 90% of the repairs and cleaning tasks you will face in the first few years of surfing.
Here is a breakdown of what each item does and why it matters:
Tool | Purpose | Notes |
Plastic wax comb | Wax removal | Never substitute with metal |
80/120/220 grit sandpaper | Surface prep for repairs | Work from coarse to fine |
Masking tape | Borders repair zones cleanly | Prevents resin spread |
Fin key (FCS and Futures) | Tightens and removes fins | Carry both sizes |
Utility knife | Trims fiberglass cloth patches | Keep blade sharp |
Silica gel packs | Absorbs moisture in storage bags | Replace every 3 months |
Epoxy or polyester resin | Seals dings and cracks | Match to board type |
Fiberglass cloth patches | Structural repairs | Pre-cut squares store easily |
For soft-top boards, which are common for beginners, replace fiberglass cloth with foam-compatible putty or Solarez Soft Top formula. The repair chemistry is different and standard resin will not bond correctly to the foam skin.
Keep a simple repair log. Write down the date, the location of the damage, and what you used to fix it. Over time, patterns emerge. If the same fin box keeps cracking, the board may have a structural issue that needs a professional shaper’s attention. Tracking repairs also helps you decide when a board has reached the end of its useful life rather than pouring money into a lost cause.
Key takeaways
Consistent surfboard maintenance, built around rinsing, drying, inspecting, and proper storage, is the single most effective way to extend your board’s life and protect its performance.
Point | Details |
Rinse immediately after every session | Salt corrodes board materials within minutes, so fresh water rinsing is non-negotiable. |
Deep clean every 1 to 3 months | Remove wax buildup with a plastic comb and biodegradable cleaner to maintain traction. |
Repair dings before they waterlog | Exposed foam absorbs water fast; seal any crack with the correct resin type immediately. |
Store dry, shaded, and sand-free | Heat causes delamination; moisture causes cloudiness; sand scratches the surface in storage. |
Build a basic repair kit | A plastic squeegee, fin keys, sandpaper, and matching resin handle most home repairs. |
What I’ve learned from years of watching surfers neglect their boards
I have seen hundreds of surfers at Praia Areia Branca walk off the beach with a beautiful board and then toss it wet into a bag, leave it on the roof rack in the afternoon sun, and wonder six months later why the deck is bubbling. The damage is never dramatic. It is always slow and invisible until it is not.
The most common mistake I see is overcomplicating the process after neglecting the basics. Someone skips the rinse for two weeks, notices the board looks dull, then spends a Sunday afternoon doing a full wax strip and deep clean as compensation. That is not maintenance. That is damage control. A simple routine of rinse, dry, and bag is genuinely sufficient for most boards between deep cleans.
The other thing I want to push back on is the idea that beginners should not bother with repairs. Beginners often prioritize gear upgrades but skip basic inspection, which directly affects how the board performs underfoot. A small ding left open for a month changes the flex pattern of the board. You may not feel it consciously, but your surfing suffers.
Start with three habits: rinse after every session, dry before bagging, and do a 60-second visual check. Those three steps, done consistently, will do more for your board than any expensive repair kit or wax brand. Build from there once the basics are automatic.
— Fernando
Learn to surf and care for your gear at Riparsurfschool

At Riparsurfschool, based at Praia Areia Branca near Peniche and Ericeira, surf lessons include hands-on guidance about gear care from day one. The certified instructors cover not just technique but how to treat your equipment so it performs every session. Whether you are picking up a board for the first time or refining your skills, understanding surfboard shape and care is part of the curriculum. Group and private lessons are available for all levels. Book your surf lesson online and arrive ready to learn both the waves and the habits that keep your board in peak condition for years.
FAQ
How often should I rinse my surfboard?
Rinse your surfboard with lukewarm fresh water after every single session. Salt begins corroding board materials within minutes of leaving the ocean.
What is the best way to remove old wax from a surfboard?
Soften the wax with indirect sunlight for 10 to 15 minutes, then scrape it off with a plastic wax comb. Follow with a citrus-based cleaner to remove residue without scratching the fiberglass.
How do I know if a ding needs professional repair?
Any ding larger than a coin with exposed foam, a cracked fin box, or a delamination bubble requires a professional shaper. Small surface dings with no exposed foam can be sealed at home with UV resin.
Where is the best place to store a surfboard?
Store your board in a cool, shaded, well-ventilated space away from direct sunlight and heat sources. Never store a wet board inside a bag, as trapped moisture causes delamination and surface cloudiness.
Do beginners need a full repair kit?
A basic kit with a plastic wax comb, fin keys, sandpaper in three grits, and the correct resin for your board type covers most beginner repair needs. Add silica gel packs to your board bag to control humidity during storage.
Recommended
Comments